Add a Document Section / Upload a PDF, Word, etc.

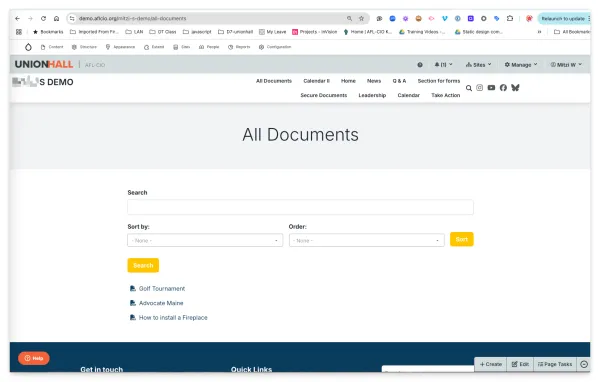
In this demo, we'll create a Document Section and title it "All Documents". The first step is to create the Section.
In the lower-right "+Create" toolbar, select "Add Section", select "Document" type.
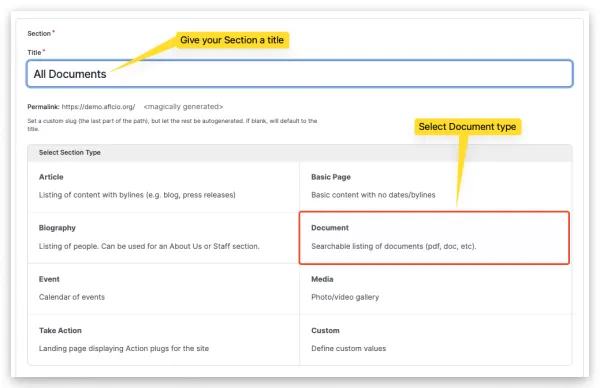
1. a. Give the Section a title and select the type of content the Section will contain. Select the Section Type and Save. In the lower-right toolbar, select "Add Document".
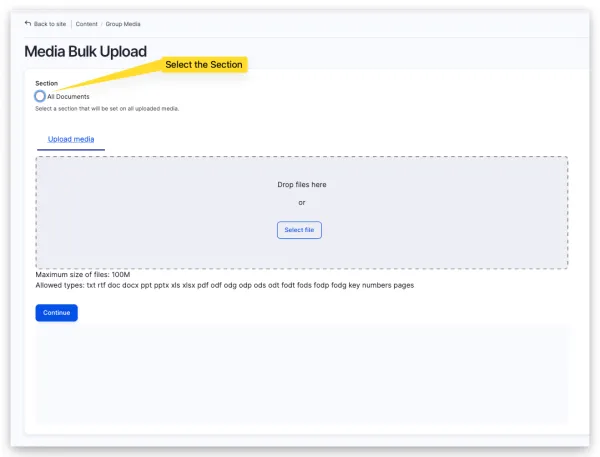
2.a. Select the Section in the Section listing in the file upload Modal that opens (see above). Add a Title & Description for the Document file, and Save.

The default display for the files is below. This is the "Teaser" file view.
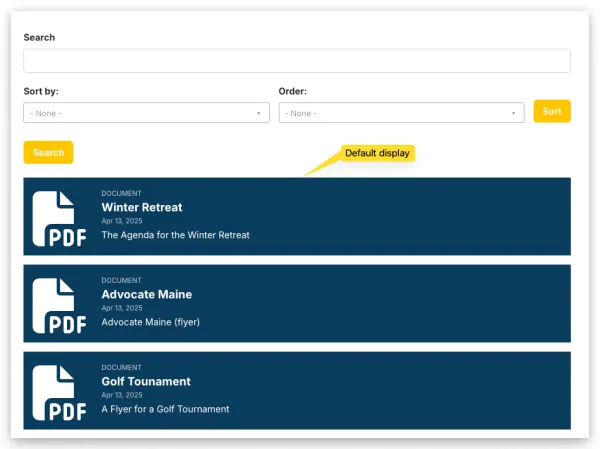
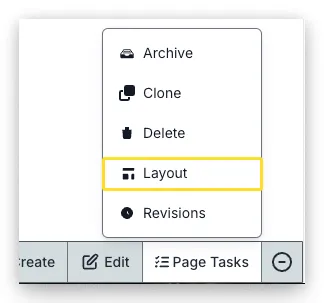
To select a different view, such as the "Mini" or "Tile" view, in the lower-right toolbar within "Page Tasks", select "Layout".
The "Mini" view is a textual listing of the files as links.
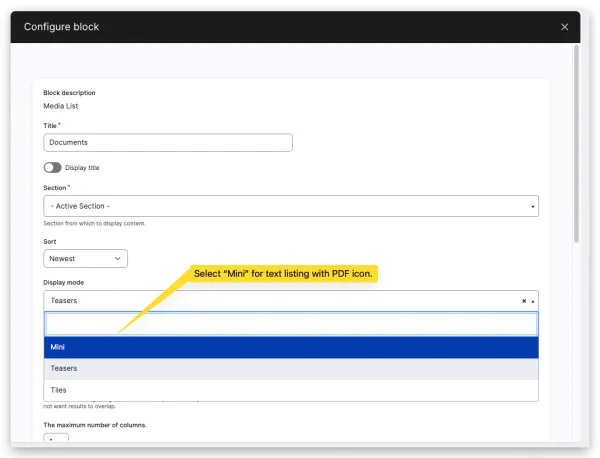
Save the "Configure block" Modal, don't forget to "Save Layout" at the top of the Layout view.